$Eight dollar Christmas present for 6 people
This can be a child involved, thoughtful and cheap
present. Without a child it is just a
cheap present.
Items needed:
Dirt, Pot, Paint,
Paintbrush, Plant, and child labor
Notes for the “items
needed” can be found at the bottom of the post.
First create an area for your child to paint, think how “Dexter” staged the apartment of his first victim way back in that first season.
Please note your child will get paint somewhere they weren’t supposed to no matter how much newspaper or wax paper you lay down. I believe this concept is considered Murphy’s Law. Just accept it as fact and move forward with life. A little color never hurt anyone.
Use the child labor to paint however many pots you will be using as presents with the paintbrushes. While this is in progress, pour yourself a drink and relax. You deserve it.
We turned the pots upside down but my free labor didn’t understand that the pots would be in the opposite direction afterwards. If you go this route let the labor know which direction the art will be viewed from once completed.
Once the paint on the pots is dry, fill them with dirt and plant your plants. Depending on the age of your slave you can even have them complete this portion as well while you have another drink.
Dirt – Which can
be taken from outside (you know that place we used to go before the internet)
or purchased. I advise purchasing so
that you don’t have to till or fertilize the outside stuff. Mine cost $3 from Wal-mart. I believe it to be discounted because it was
winter.
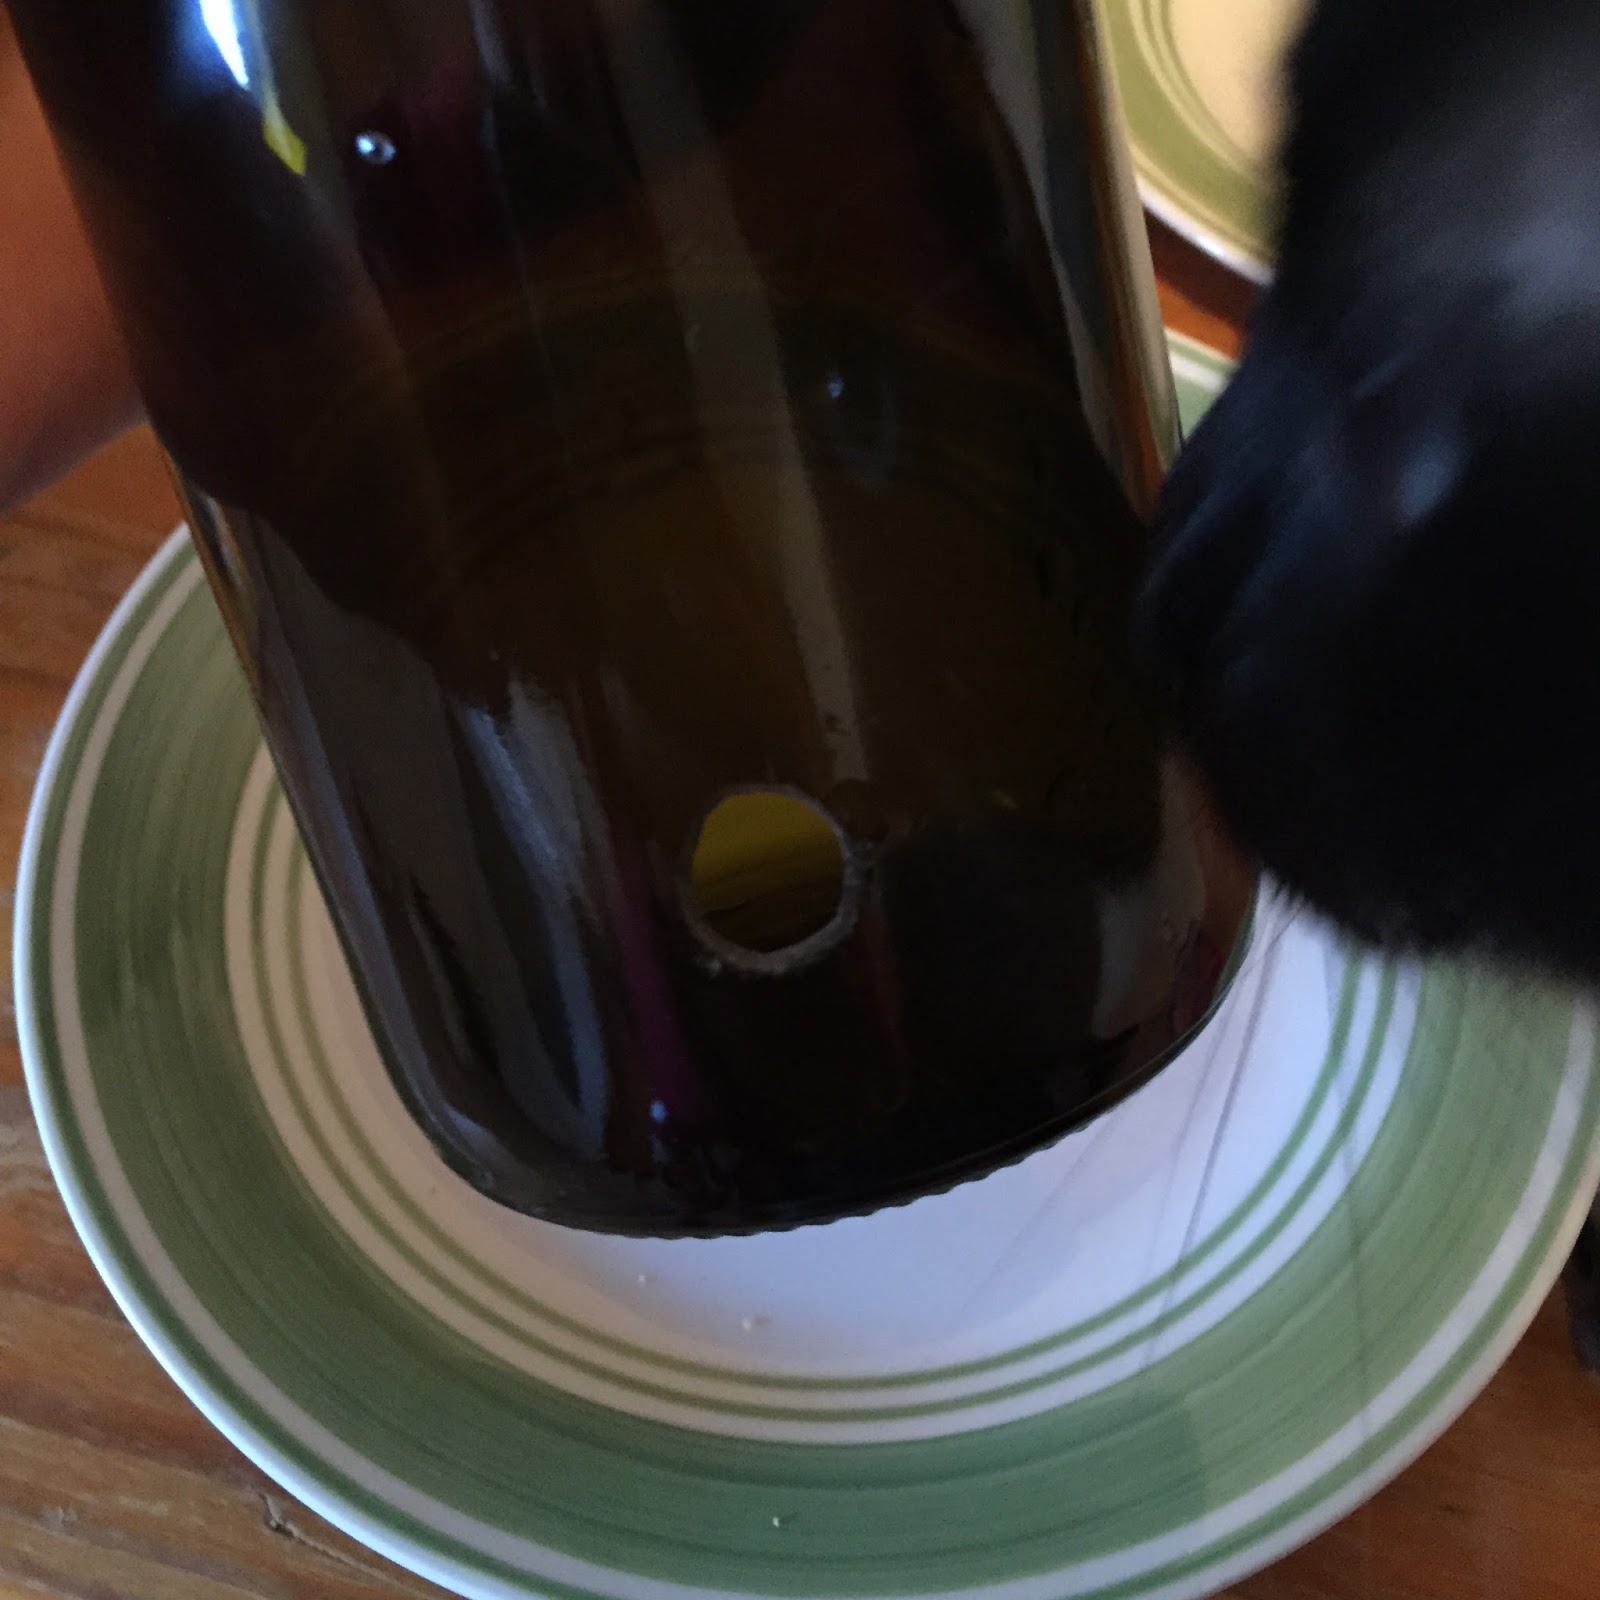
Pot/Pots –
[insert marijuana joke here]. Get what
pots are available from the Dollar Tree but terracotta with a drainage hole in
the bottom would probably work best.
Mine cost $5 because I bought five.
Paint/Paints – I
used the Acrylic variety because I already had them so I consider this another
“free” element of this craft. You can
use whatever type and color you want Sparkles.
Yes I called you Sparkles.
Plant/Plants – I
used spider plants because they are fairly hardy indoor plants. Another bonus is mine propagated and I didn’t
have fork over any moola on new ones.
Another idea is to also get these from that outside place but only if
you know what in the hell you are doing.
No person would appreciate receiving poison ivy except for possibly
Poison Ivy.
Paintbrushes -
Finger painting will also work if you aren’t such a control freak that you
dictate how your child makes art.
Child labor –
This is optional but vital if you want the receiver to actually enjoy your
present. Not a single soul cares how
good your macramé necklaces are now that you are grown. If you are doing crafts after the age of 13,
you better be bringing some serious art or function. What’s that you say? I am hypocrite because my site is dedicated
to DIY crafts. Not so, Sparkles, not so.
My site is dedicated to documenting my alcoholic activities which is the
distinction.